Scottish tenements are forgiving in most ways. High ceilings, deep skirtings, big sash windows and a picture rail that has been carrying someone's framed print since long before you moved in. Take a drill to the wall, though, and the goodwill evaporates.
Lath-and-plaster, layered wallpaper, lime skim, floors that have settled at their own pace for a century — hang a picture carelessly and you will hear a crack, watch a strip of paper lift, or find the frame on the sofa by teatime. None of it is hard to avoid. It just asks for a different approach from the one you would use in a new-build.
Assuming the wall is solid
Most picture-hanging habits come from modern houses, where a wall is usually plasterboard over timber studs and a hollow-wall fixing will hold almost anything. In an old flat the same wall might be a thin skim of plaster keyed onto timber laths with a dark void behind it, or plaster applied directly to brick or rubble stone, or plasterboard stuck to the original wall with dabs of adhesive after a refurbishment.
Tap it with your knuckles. A hollow ring suggests laths or a cavity; a dull thud is more likely solid. The difference matters, because a masonry plug that bites beautifully into brick will spin uselessly in crumbly lime plaster, and a nail driven into a lath can split the timber and pull a lump of plaster down with it.
Fixings that suit an old wall
- Picture rail and cord — the gentlest option, and it leaves the wall below untouched.
- A single small hook for light frames, twisted into a pilot hole no wider than the hook shank.
- Hollow-wall anchors or spring toggles where plasterboard has been fixed over an older wall, provided the void behind is deep enough.
- A timber batten screwed into something solid — studs, joists or the brick behind — for anything heavy, such as a large mirror or a deep box frame.
Avoid hammering in a nail and hoping. Heavy pieces should never hang from one small hook, whatever the packet suggests.
The picture rail is there to be used
Almost every tenement flat has one, even if it has been painted over so many times that the moulding has softened into a bump. The rail exists for exactly this job: brass or steel hooks sit on top, cord or chain drops down, and the plaster below stays whole. A dozen frames can be rearranged in an afternoon without making a single new hole.
Two cautions. Rails are fixed to the wall, but they are not designed for a heavy gilded mirror — spread the load across several hooks, or hang the heavy piece separately. And keep hooks off the cornice. Cornices are fragile and often only just attached; a hook there will eventually take a piece of the ceiling with it.
If the rail has been stripped out, a slim painted batten fixed at rail height does the same job and reads as a deliberate detail rather than a bodge.
Drilling blind
Old flats conceal a surprising amount of pipework: capped gas runs, lead water pipes, heating pipes chased into plaster, and cables that wander in directions no modern convention would predict. Chimney breasts are the worst offenders, with flues, vents and old back-boilers hiding inside them.
Run a pipe and cable detector over the wall before you mark anything, and read it slowly — they are easily confused by foil-backed wallpaper and metal lath. Look at the other side of the wall for clues, too: sockets, switches, radiators and stopcocks rarely appear from nowhere. As a general rule, avoid drilling directly above, below or alongside a socket or switch, where cables commonly run.
If the reading is doubtful, or the wall is a chimney breast in a flat you do not own, stop and ask. Gas work is not a DIY job; a qualified electrician or gas engineer is a cheap afternoon compared with the alternative. If you rent, check your tenancy agreement before making any holes at all.
Getting the height and the level wrong
Pictures usually end up too high, hung by eye from a chair with one arm outstretched. A reliable default is to put the centre of the frame at roughly eye level — somewhere around 145–150cm from the floor — and then adjust for whatever sits beneath it. Over a sofa, sideboard or bed, leave a modest gap so the artwork feels related to the furniture rather than floating above it. Above a mantelpiece, keep the gap small so the two read as one arrangement.
Levelling brings its own trap. In a flat that has settled, the wall may lean and the floor may slope, so a spirit level held against the wall can declare a frame straight when it looks wrong from the doorway. Trust the room instead: measure down from the picture rail or the ceiling line, and mark both ends of the frame from that reference. Then stand back a metre or two, not thirty centimetres, before committing.
Where walls bulge, frames rock on their hooks and creep sideways over time. Small rubber bumpers on the bottom corners stop most of it, and hold the frame slightly off the plaster — useful on a cold external wall, where condensation can mark both paper and artwork.
Damage you can avoid in ten seconds
Blu Tack leaves an oily shadow no eraser will lift. Sticky tape takes the pattern with it. Drawing pins rust. On old wallpaper, which is often brittle and occasionally irreplaceable, all three are slow vandalism.
Vibration is the other quiet destroyer. Hammering a nail into a lath wall shakes the plaster keys that hold the whole
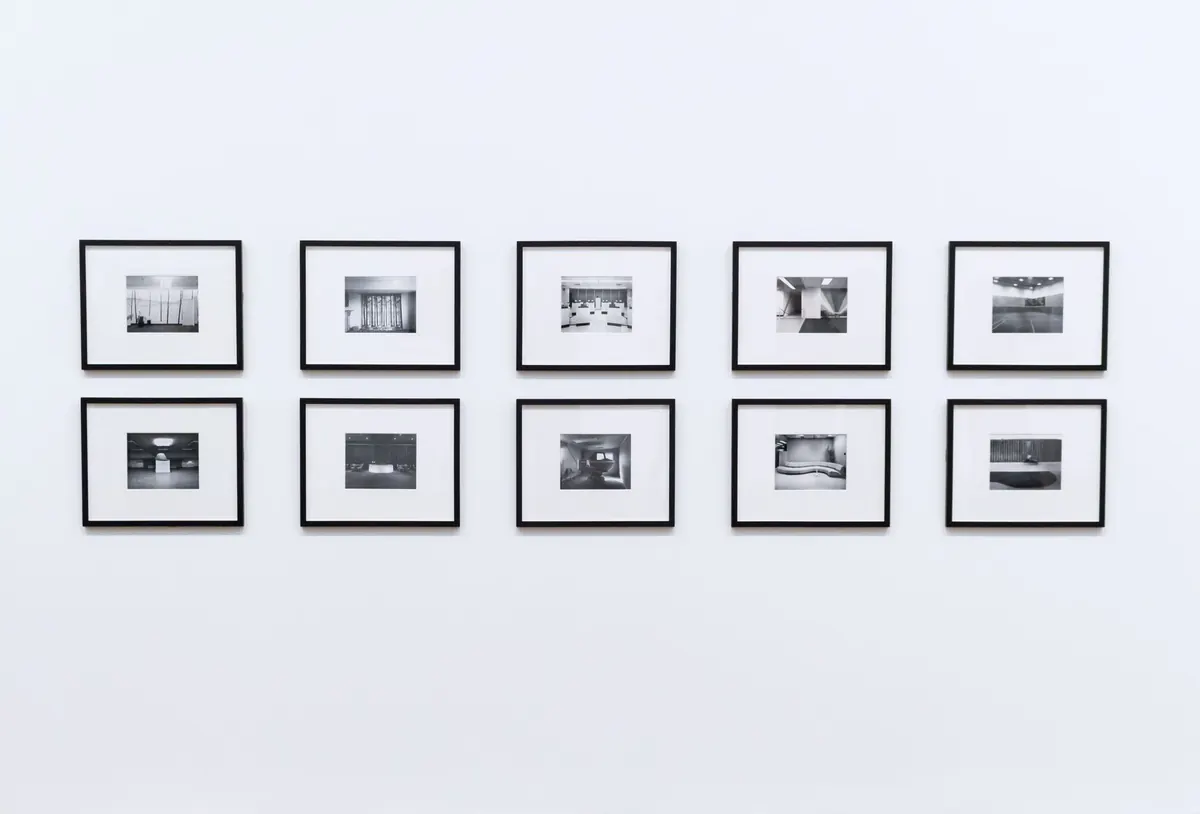
Photo: Dom J / Pexels